Image Map

Sunday, February 26, 2012

My First Week in the OR and Blogiversary Giveaway Winner!

So I had quite the interesting first week in the OR!  I'm doing my surgery rotation with an orthopedic group.  It really is similar to wood-working.  There are drills and screws, and dremel type tools.

Surgeons holding tools in operating room [BLD078069]


Ok, so obviously this is an exaggeration.  The surgeons don't stand around with their masks half on holding huge power tools, but it's pretty awesome!

On Monday I met my preceptor at 6:45am and got changed.  Our first case was a totol knee replacement.  Pretty crazy stuff!

Once that case was finished we moved over to the outpatient surgery center.  At this point I had only eaten a poptart and it was getting close to 10:00am.  We headed to our next case which was a rotator cuff repair.  This is an arthroscopic procedure, and I got the job of holding the arm in the correct position.  Essentially I was doing two bicep curls for almost an hour.  And I'm a wimp.  I have absolutely no upper body strength, I swear this person's arm weighed 20 pounds, and I was starving.

I was sweating bullets and could feel myself getting weaker and weaker.  I sat there hoping the procedure would be over soon.

I managed to wait until the surgeon had left the OR and my preceptor, a PA, was getting ready to close the incision.  I couldn't hold out any longer, and I told her I felt really weak.

One of the RNs came to my rescue and helped me walk over to a stool in the corner of the room.  I wasn't feeling any better, so they had me lay down on the cool floor.  All I could think about was getting some food in my stomach, and I kind of felt like this:

trenta pass out


Once a little bit of my color returned they helped me into the hallway and went to get me a coke.  While I was waiting for the coke I proceeded to have a massive hand cramp.  Looking back now I can't stop laughing at how ridiculous this whole scenario is.

They finally returned with a coke which I chugged, and almost immediately felt better once I got some sugar in my system.

We only had one more surgery for the day, so I grabbed a big lunch and did fine.

Moral of the story, you gotta eat your breakfast and keep hydrated!

Wednesday went much more smooth and my preceptor made sure I was eating all day.  Thank goodness, because we ended up being in the OR from 7:30am - 10:00pm. 

My feet were a little tired at the end of that day, and I was hopping from foot to foot in the OR, kinda like this gal:

There were two ORs; Sarah Zack and Anne Marie Rich were the only anesthesia staff.

Now that I've learned to eat, I'm enjoying the OR much more!  It's not nearly as terrifying as I thought it would be.  Now my biggest obstacle is learning my anatomy, and my goodness there's a ton of it!

I've already seen a total knee replacement, total hip replacement, a few knee and shoulder arthroscopic procedures, ankle fusion, a few hardware removals, a gamma rod placed in a fractured hip and a fractured elbow repair.  These folks are busy!

Thanks to everyone for your words of support and encouragement!

Now, what you've all been waiting for!

The winner of my blogiversary giveaway!


Congratulations to Pinwheels & Peonies!

I'll be e-mailing you shortly!

I hope you all have enjoyed your weekend, and have a great week!

Cheers!

Saturday, February 25, 2012

Introducing Countrytouch Crafts!

I want to introduce you all to one of my pals, Trish, of Countrytouch Crafts!


I've known Trish since I was a wee one! She was a nurse at my family doctor's office growing up and knows both myself and my family well!  She's helped me out through dog bites, stitches, mono, and all the regular childhood illnesses.

More recently, I completed one of my six week clinical rotations at this doctor's office and was so glad Trish still worked there!  She took me under her wing and made sure noone was rude to me, and that I didn't kill anybody! :)  Her daughter Amber, who is my age also worked there! It was great having them both!

Trish finally had the opportunity to quit nursing and focus on what she loves - crafting!

She offers a painting class at the Hobby Lobby in Murfreesboro on most Fridays - if you're in the area you should definately come!!

I've gone twice so far, and it's so nice to relax and paint for a few hours after a long week at work.  In the picture above you can see what we painted a few weeks ago.  This week we did Winter:


This is my handywork! LOL! I'm not nearly as good as Trish!

I can't wait for the next two weeks - we're doing OWLS!!

On Friday, March 9th, we're doing team owls, or you can paint the owl any color you choose:


Two weeks after that, Friday, March 23rd, we're doing a big, sleepy owl:


Classes are only $10 and Trish supplies everything, although you can bring you own brushes and any color of paint that you like!

I'll be there both weeks!  Classes start at 5:00pm!

Trish also just opened an Etsy shop, Countrytouch1234.

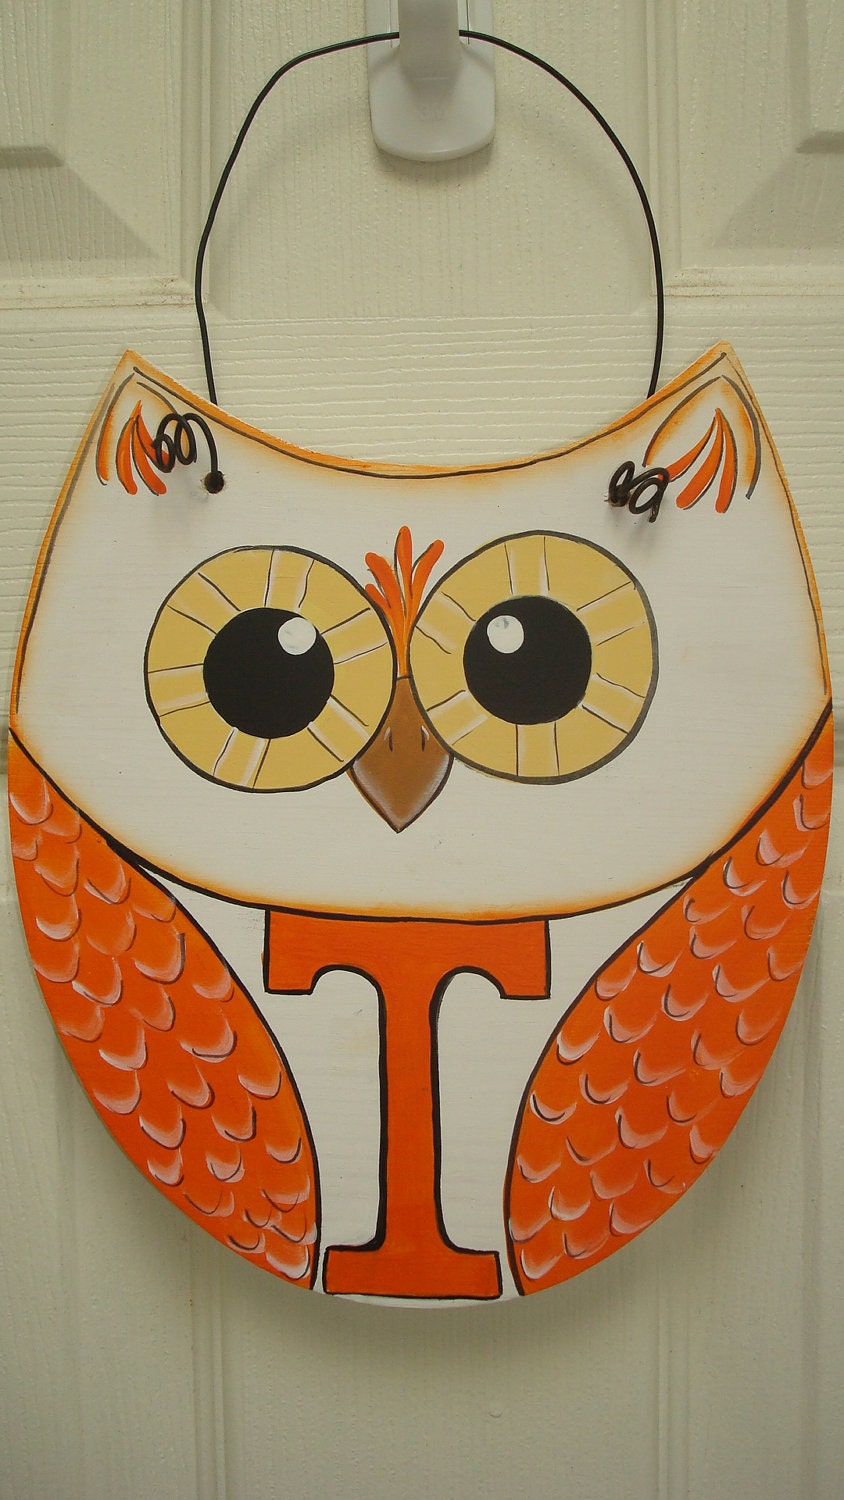
She has more cute owls, and you can get an owl in any team color you choose!  She also has other country decor, so stop by and show her some love!

Retro Owl

Lamby Pie

Tennessee Owl

Cheers!

Five Feature Friday #27!

Well, I survived my first week in the OR.  Kinda - haha!  I'll be back tomorrow to announce the winner of my blogiversary giveaway and I'll tell you all about my week!

Onto the features!

Dresser renovation

Little Green Bow revamped this waterfall style dresser from a vibrant red to the gorgeous look you see now! The side is covered with a beige linen fabric.


The Nesting Game took these two campaign style nightstands she found and merged them together to make a dresser!


A Girl and A Brush painted this table to look like a mustang! Love the colors!


The Apprentice Extrovert built an amazing daybed outside! How wonderful would this be during the spring!


The Junktion refinished this kid's table set! I love the gray against the wood grain! Gorgeous makeover!

Feel free to grab a button if you were featured!

CRAPTASTIC


Cheers!

Sunday, February 19, 2012

How I Made My Custom Desktop!


A few months ago I found myself incredibly irritated with the layout of my office.  I didn't have very much space to cut my fabric and I felt like my corner desk was taking up a lot of unnecessary space.  I often found myself cutting fabric on the dining room table, ironing in the hallway, and sewing in my office.  I was spread out everywhere and completely disorganized.  I made up my mind to build a new desktop and that was the end of that.

I wanted to repaint my office, but I wasn't sure if I wanted a light or dark gray.  Then I saw this photo from The... Late, Young Family.  I loved the contrast of the vibrant turquoise with the dark gray.


Once I had my wall color picked out, it all snowballed from there.

I wanted a long desktop space along the wall where I could sew, use my computer, and have storage and workspace on the desktop.  Originally I was going to have the long desktop on the back wall against the window.  But with that layout I couldn't figure out how to work in another desktop to cut my fabric.  Then I had my lightbulb moment and decided to make a T-shaped desk on the other wall!  Perfect!

I bought three 2x8x12 pine boards from Lowes.  I think they were around $6-7 a piece, I can't remember.  For the "T" section of the desktop I bought two 2x6x15 (I think) pieces of pine. 

My room is a little over 10 feet wide, so I had Lowes trim the 12ft boards down to size.  Same for the two long boards - Lowes cut them each into three equal sizes, making six boards for the "T" part of the desktop.

Now for the tedious part - sanding, staining, and sealing.


In the photo on the left you can see how I propped all the boards up on paint cans so I could sand, stain, and seal off the ground.  The smaller boards were all propped up behind me.

I sanded with 80, 120, and finally 220 grit sandpaper.  This part took what felt like forever.  I rushed on the smaller boards because I got sick of sanding, so they aren't quite as smooth as the larger boards.

The photo on the right shows the difference between the two boards with one coat of stain.  The board on the left does not have stain, the board on the right does.

For the stain I made a custom mix using Natural stain and adding in Ipswich Pine until it produced a color I liked.  I normally love Dark Walnut, but the paint was already so dark I wanted to maintain a more natural look of the wood to warm the room.  I applied two coats of stain and one coat of Minwax Satin Poly to all the boards.

Once everything had dried for 24 hours the hubby and I brought it all inside to install.


We used a clamp to hold all three pieces of the large wood together, then the hubby put flat metal brackets underneath to help hold the three pieces together and stabilize the wood.

Once that was finished we flipped the piece over and set it on top of the filing cabinets and bookcase.  In the future I'll likely replace the bookcase with a metal pole to allow more foot room under the long boards, but I didn't want to spend any more money and just used what I had on hand.

We used similar, but smaller, brackets to secure the smaller boards together.  After making sure the two bookcases were in line, we set the smaller boards on top of the two bookcases.  Hubby used wood screws to secure the boards to the bookcase from inside the upper part of the bookcase.  DONE!

I hope this all makes sense - I didn't get many pictures of the installation process, we both had our hands full for the most part.


Now I have an area dedicated to my sewing, and a huge space to cut fabric on.  I can work so much more efficiently now!  Everything has its place, so I don't waste time searching for materials I need!


I use the bookshelves under the desktop to store books, storage bins, my trash bin, and my iron.


Really all I have left to do is strip and stain my chairs.  At least now my office is fully functional!  I love my new desktop!

The lumber cost $40, and the brackets cost $20.  I probably spent around $10 on the little sizes of stain and I already had the sealer.

In total, I spent about $70 on my desktop.  Not bad for a custom workspace! :)

Just a few tips that I learned along the way:

1.  BRING YOUR TAPE MEASURER to the store!  The wood is never the same size as the advertised size.  This can result in big errors, so always measure and know the exact dimensions of the space you're updating.

2.  Lay out the lumber you are selecting next to each other.  The are a lot of curves and variations in the wood, and you'll have to look through at least a dozen pieces of wood before you find multiple straight pieces.

Cheers!
PhotobucketPhotobucket Transformation ThursdayHookingupwithHoHFurniture Feature FridaysUndertheTableandDreamingSew Chatty

Saturday, February 18, 2012

Five Feature Friday #26!

Happy weekend!

This week I started my fifth clinical rotation!  I'm incredibly excited, because it is my orthopedic surgery rotation!  I'm very interested in pursuing orthopedics as my specialty when I get out of PA school, so I've been looking forward to this rotation!  My first day in the OR will be Monday, and I don't know if I want to jump for joy or barf all over the place! :)  I'm both excited and nervous, so wish me luck!

Onto the features!


musebootsi shared her adorable striped kitchen drawers, but I think the entire kitchen is great! It's so bright and cheery!


Little House In the Big D freshened up this boring jewelry holder with a fun, modern pattern! Gotta love that chevron!


no. 2 pencil shared this awesome turquoise dresser makeover! Love the style and the new color!


The Blooming Hydrangea shared her madeover coral nightstands, but look at the rest of the room! Isn't that stenciled wall amazing!


Michelle Lee Interiors updated her office with DIY wooden shelves! I love how they look displaying the beautiful pillows and fabrics in the basket!

Feel free to grab a button if you were featured!

CRAPTASTIC

If you haven't already, be sure to enter my one year blogiversary giveaway! You have a chance to win this sweet scalloped tote, a large travel case, and custom mix CD from yours truly!


Cheers!